A Simple Guide to Taking Plant Cuttings
It’s easy to see that genetics are an extremely important factor in the human story: after all, it is our genes that determine to a large extent what type of people we will be. Whether we will be tall or short, skinny or fat, disease resistant or susceptible to infection—it’s all in our genes.
This doesn’t just apply to humans, though; it applies to all life on earth, including the plants we grow. So when we first grow a type of tomato or pepper that we really like, it is only natural to want to hold onto that plant and its good traits—and the best way to ensure that your next generation of plants has the same favorable qualities is to take a cutting of that plant, thus creating an exact genetic replica, or clone.
Some plants will take to this process better than others, but by following some simple instructions you can limit your failures and become something of a cutting expert.

Email Newsletter
Join thousands of other growers who are already receiving our monthly newsletter.
Selecting a Mother Plant for Cloning
Making clones from plant cuttings is a method of asexual propagation. The cutting is taken from what is commonly referred to as a ‘mother plant.’ A cutting will be genetically identical to the mother plant and will be the same as the parent as long as the environmental conditions are the same—so obviously your best, most vigorous plants should be selected as mother plants, as their vitality will then be passed onto the cuttings. The mother plant should be healthy and at least one or two months old and should be kept in a constant vegetative state.
Your mother plant’s only purpose is for taking cuttings. To avoid contaminating your mother plant with pest insects or disease, keep it isolated from the rest of your plants—if your mother plant was to become infected with a disease, all subsequent cuttings would be infected and therefore useless.
Read More: Maintaining a Mother Plant – A Guide to Best Practices & Common Issues
Making the Cut
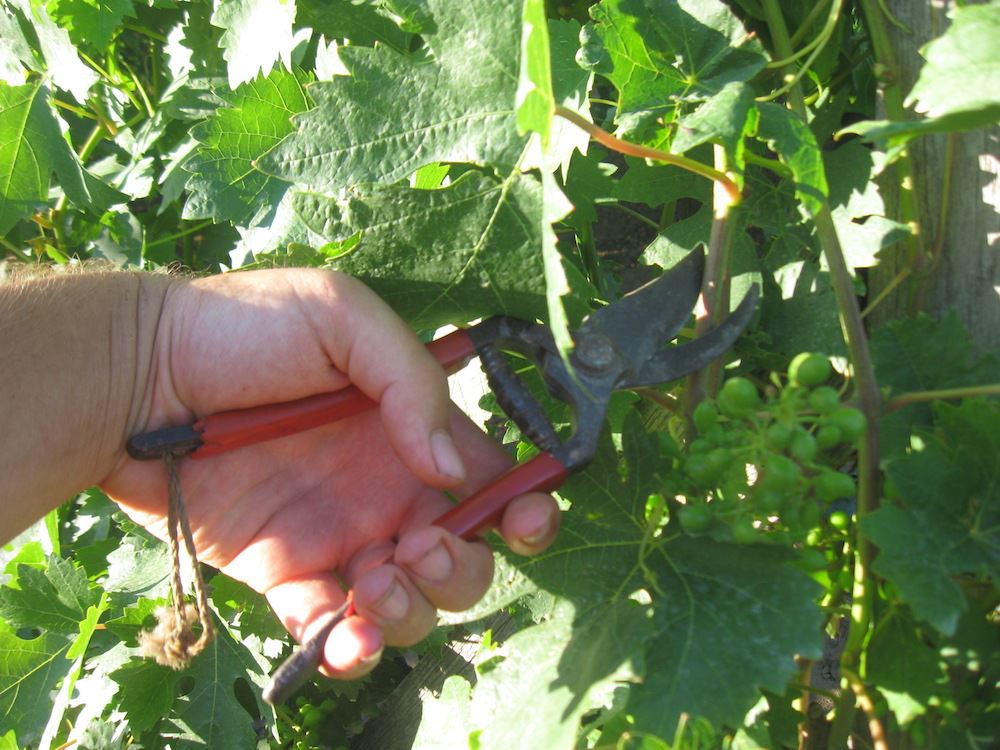
Whichever cutting tool you use—whether it’s a scalpel, a razor, scissors or some other instrument—it must be sterile, because making a cut can introduce disease to your plant through the open wound. Find a healthy branch with four to six leaves on it and, using the sterile cutting tool, sever the branch at a 45° angle directly below the bottom two leaves.
These lower two leaves can now be removed from the cutting, allowing more of the freshly cut surface area to be exposed to your rooting hormones and medium. The severed end of the cutting should then be stuck into your chosen medium about one-inch deep. Do this quickly, as air can get trapped in the freshly cut stem of the cutting and this could cause it to wilt and die.
Read More: Techniques for Proper Pruning
Rooting Hormones
When a cutting is taken from a plant, stem cells that were used to grow leaves and branches must then begin to grow roots instead. Plants achieve this by the stem cells located at the cut becoming undifferentiated cells, eventually transforming into root cells.
Root-inducing hormones are already present in plants, but many gardeners believe that by dipping the severed end of the cutting into a rooting compound that contains some root-inducing hormones the rate at which the roots will develop will be accelerated.
Rooting compounds come in powder, gel and liquid forms and are to be applied to the severed end of the cutting right after the cut has been made, prior to it being inserted into the growing medium. Liquid and gel types are most common, as the powdered versions are easy to over apply and too much rooting hormone solution can actually stunt the development of new root growth.
The three most common rooting hormones found in commercially available rooting compounds are napthalenaecatic acid (NAA), indolebutyric acid (IBA) and 2,4-dichlorophenoxyacetic acid (2,4DPA).
Read More: The Various Forms of Rooting Hormones & Organic Rooting Stimulants
There are many different types of growing media available to the indoor gardener and each has its own advantages and disadvantages:
Rockwool is very popular for use with cuttings. This inert grow medium with excellent water and oxygen-retaining properties is spun from heated rock in a similar style to cotton candy. Insects that lay eggs in growing media are less likely to lay their eggs in rockwool and root-borne insects are also less likely to be found in it. Rockwool can come in a flat of 100 starter cubes, which are easily transplanted into larger cubes suitable for hydroponic systems.
Coco coir is made from shredded coconut husks. It is totally inert, very suitable for rooting cuttings and is often available in starter packs ideal for propagating cuttings.
Soil and soilless mixes are not inert and can contain pathogens harmful to plants. To sterilize your soil or soilless mixture you can bake the medium in your oven—just place the necessary amount of mix into a large baking tray and bake in the oven at 482°F for 15 minutes. Allow the mix to cool before placing your cuttings in it.
Aeroponics is the medium of the future for cuttings. There are many different aeroponic cutting propagators on the market today and they all work on the same principal: the severed end of the cutting is suspended in the air, where it is misted by a fine spray of water.
Roots will eventually grow into the humid, misty air and can then be transplanted into a larger aeroponic system. This technique is also ideal for starting cuttings that are destined for nutrient film technique (NFT) hydroponic systems.
Many people are achieving excellent results with these methods.
Read More: Understanding & Using NFT Hydroponics Systems
Lighting for Clones
Lighting is vital in all stages of plant development and cuttings are no different. Cuttings need 18 to 24 hours of light if they are to root properly, but they must not receive light that is too intense.
Transpiration is the process through which water is evaporated through the leaves and in turn water is sucked in through the roots—without fully developed roots, plant cuttings can easily dry out. Using fluorescent light bulbs at this stage of growth is wise because they are not intense enough to damage fragile cuttings.
Read More: The Driving Force – Transpiration
Optimal Humidity Levels for Clones
Appropriate humidity levels are very important for cuttings to root successfully. High humidity levels—from 90 to 100 per cent—slow down transpiration and help keep cuttings from drying out. High humidity levels also help to promote root growth. Humidity domes—clear plastic covers placed over your cuttings, allowing light in and keeping the humidity from escaping—are excellent tools to help maintain ideal humidity levels.
With high humidity levels there is always a risk of developing molds and fungi, however, so to help prevent this, as well as to toughen up your cuttings, remove the humidity dome from the cuttings for 10 to 20 minutes each day.
Air and Root Zone Temperature
Cuttings will root faster and with higher success rates when the root zone and air temperatures are kept within a certain range. They do best when the air temperature is between 70 and 85°F—outside of this range and root growth will be stunted or stopped altogether.
The root zone temperature should actually be five degrees warmer than the ambient air temperature to promote root growth; heating pads with thermostats, which can be purchased at any quality hydro shop, can be placed below the cutting tray for controlled root zone heating.
Transplanting
After cuttings have been taken they must be given adequate time to grow roots before they are transplanted into larger planter pots or into a hydroponic or aeroponic system. Do not transplant cuttings until there is dense root growth. This can be determined by checking underneath rockwool flats or by gently coaxing the root ball out of the container. Transplanting can be a very stressful process for the plant—as stressful as taking the cutting in the first place—so always handle roots and cuttings with care and do whatever it takes to ensure that the plant is damaged as little as possible during transplanting.
The process of cloning a plant by taking a cutting can be extremely useful—it allows you to continue growing exact genetic replicas of your favorite plants. It may seem like a complicated process, but with the right knowledge and experience there is no reason it has to be a difficult one, either for you or your plants!
Read Next: Techniques for Terrific Transplanting


