5 Cool Ways to Conserve Garden Soil
Soil is not an infinite resource. The United Nations predicts we only have 60 years of topsoil left; it’s more essential than ever to protect it. Many gardeners replace their soil every growing season but reusing it is possible! You’ll save some green and be a little greener in the process; some of the following techniques help fight climate change and boost food security. Here are our 5 Cool Ways to conserve soil in the garden!
Biochar
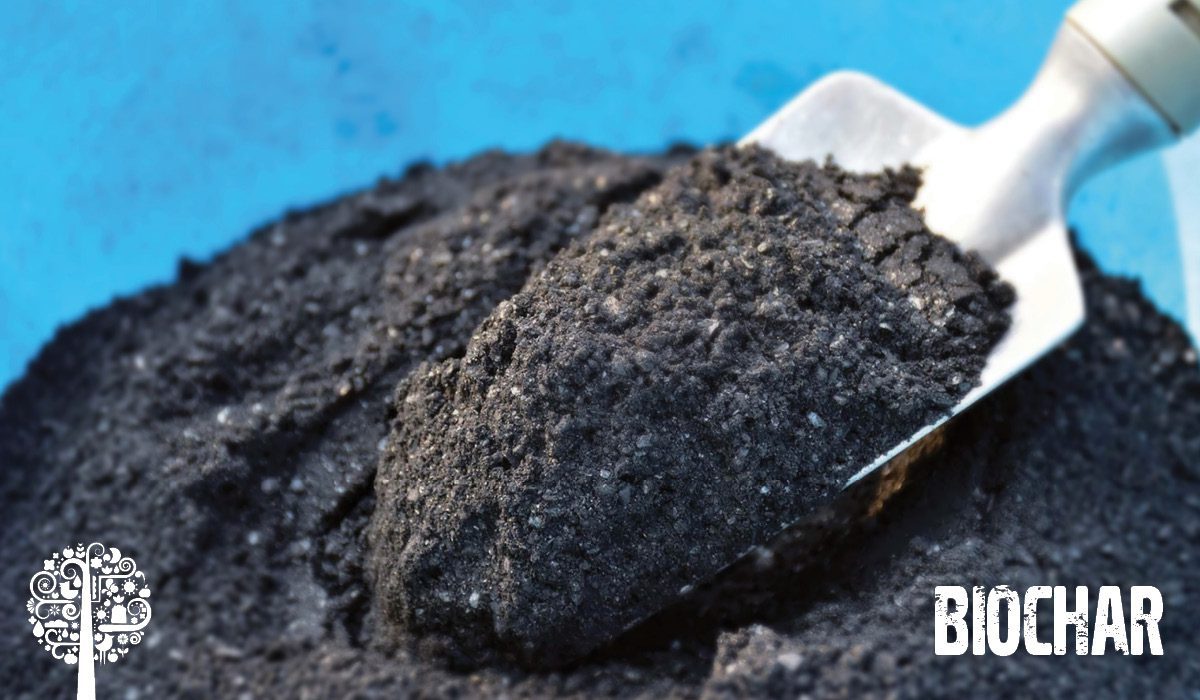
Biochar is the ultimate soil amendment, and it has the track record to prove it; its many benefits have been tested over 2,000 years! Biochar was first discovered by the indigenous people of the Amazon, who created charcoal and mixed it into their agricultural soils. All of these years later, the black earth in the Amazon remains incredibly fertile; crops grown there require no additional fertilizers or additives. Biochar is made through pyrolysis, the burning of organic materials in an airtight, oxygen-free system. The result is a porous carbon that retains water and nutrients and offers a welcoming, long-term home to beneficial soil biology. You can buy biochar or make it yourself; however, do plenty of research before deciding to take the latter route. The best time to add pre-inoculated or charged biochar to the soil is while you’re building a new garden. Be sure to follow the recommendations on the label of the biochar product you choose. After application, enjoy incredible yields without the use of chemical fertilizers or pesticides.
Cover Crops
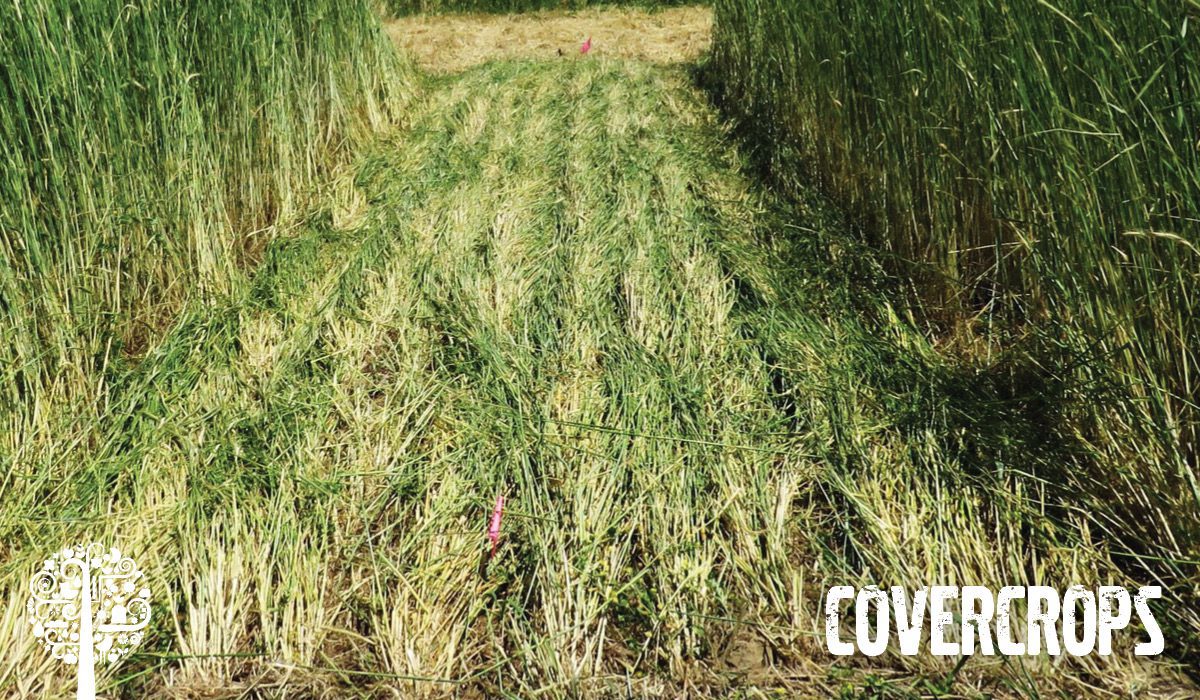
The importance of cover crops to the world of agriculture cannot be overstated. As our plants grow, they take nutrients from the soil to make it to harvest time. After harvest, it’s essential to replenish the earth, and one of the simplest ways to do that is to cover the bare ground with plant growth. Beyond rebuilding nitrogen and organic matter reserves, cover crops work overtime by preventing soil erosion and suppressing weeds. Choose from various plants such as buckwheat, rye, hairy vetch, white clover, field peas, and more. Plant them after harvest, generally in the late fall, so the soil is covered throughout the winter. Then, in the spring, till or mulch the plants to release nutrients further into the ground. While cover crops are more typically used in large-scale farming, they offer the same benefits to home gardeners, no matter how big or small the plot.
No-Dig or Dig-Once
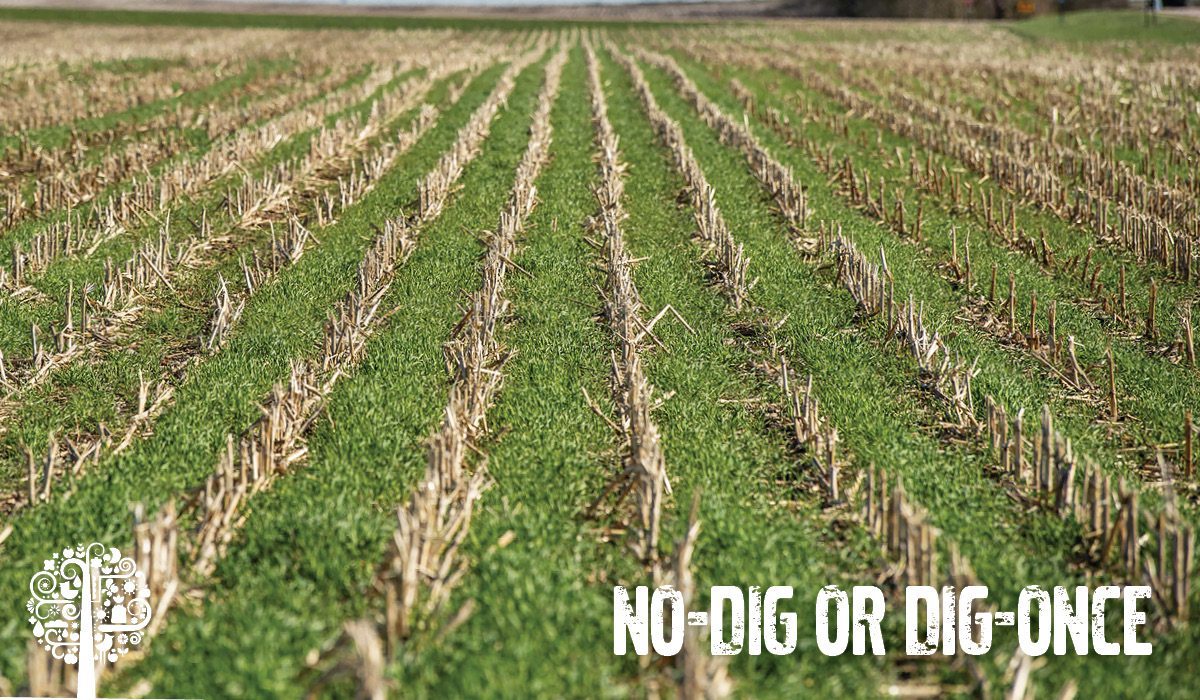
The no-dig or no-till technique ditches shovels, weeders, and heavy machinery focusing instead on keeping precious soil life intact. When the earth is left undisturbed, carbon remains trapped in the ground, and weeds won’t germinate because they won’t be disturbed or get any sun. You can follow several no-dig methods, but a simple way to do it is to make a lasagna garden by layering newspaper or cardboard, hay, straw, chopped leaves, and then compost on top. You can even create no-dig container gardens by using a large-size pot and placing 2-3” of bark mulch in the bottom. After, alternate between thin, 1-2” layers of nitrogen (compost, fresh grass clippings) and carbon (coir, chopped leaves). Whether growing in the ground, raised beds, or containers, be sure to moisten the layers as you add them and mix in some worm castings or organic fertilizer to the compost to help the decomposition process along. This is a fantastic way to conserve soil by creating your own nutrient-dense mix with easily accessible (and often free) materials!
Seasonal Amendments
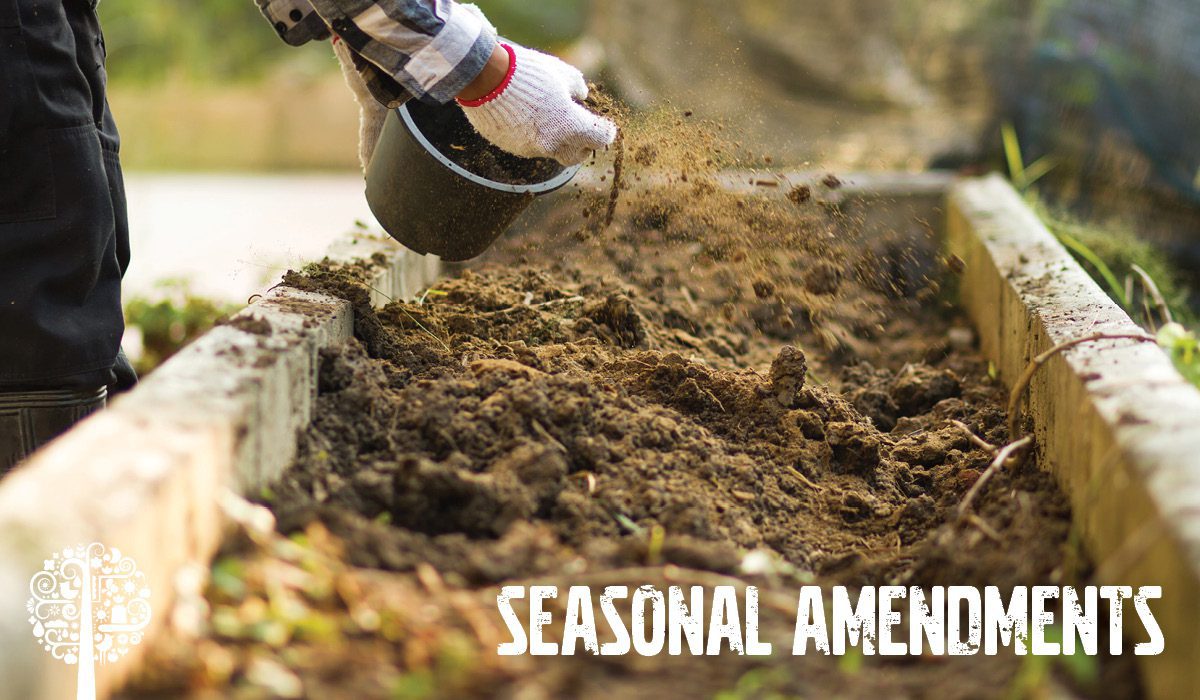
At the end of the growing season, don’t ditch your soil! Instead, consider closing your gardens by adding a fresh layer of good-quality compost and organic fertilizer to the top 3”. Nature handles the rest; worms will help break down the organic fertilizers so that your soil is loose and nourished for the next planting. Adding enzymes to the garden also helps purify the earth; you can purchase mixes or make your homemade brews. Korean Natural Farming offers many fermentation recipes that will boost soil life and plant health. If you have container gardens, think back to how your plants did over the growing season. Did you have any pest or disease problems? If so, it’s best to get rid of the soil and start over again. If all went well, remove the top 6” of earth and add it to the compost bin. Replace with fresh organic potting mix, good-quality compost, ferments, and other soil amendments. Coco coir, for example, works well to loosen the soil for aeration. If you need to adjust the acidity levels in the garden, add some lime to the soil. Need to increase the calcium content? Gypsum should do the trick. Care for the earth, and it will care for you!
Know Your Soil
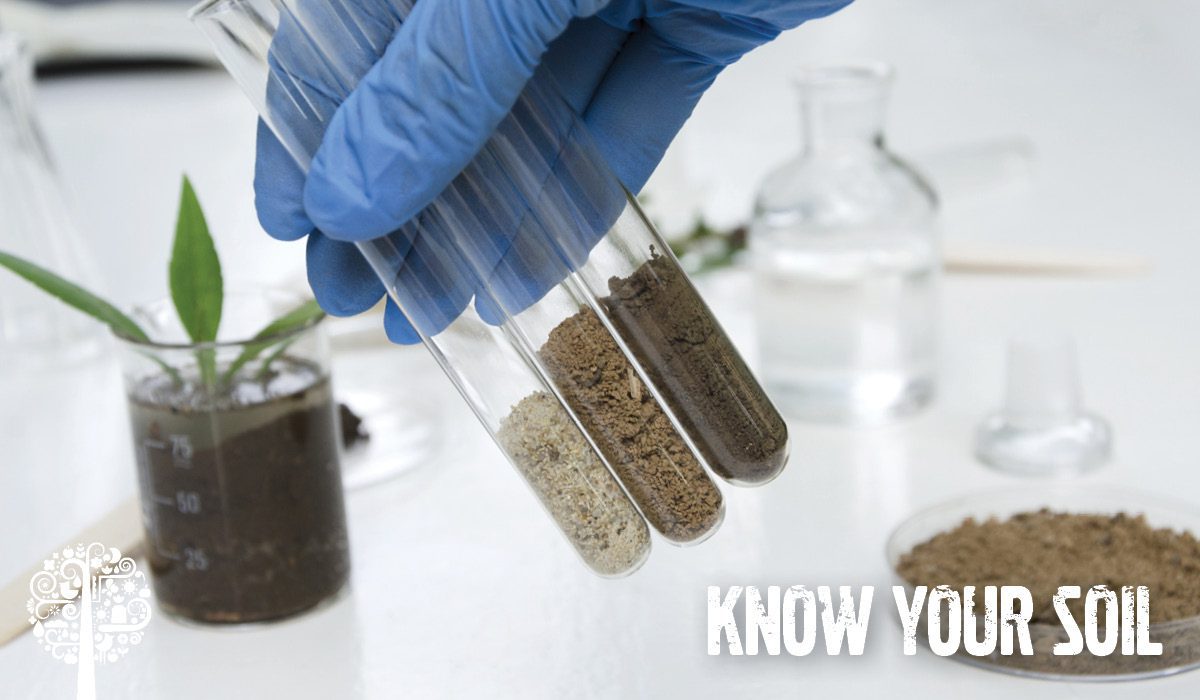
“Fixing” the soil is easier said than done; how do you know what needs to be corrected if you don’t see what’s lacking? Get to know your soil and what’s in it by testing it regularly. This is especially important for those following the no-till technique. The best way to know what’s going on below the surface? Bring a sample to a lab so a professional who truly understands dirt can tell you what you’re missing. Home gardeners can also purchase pulse metres that quickly and efficiently check EC and pH levels. It’s also possible to buy inexpensive soil test kits to let you know the soil composition and tell you the NPK values, pH levels, and drainage capabilities. Once you know what you’re working with, take the steps necessary to correct any issues that arise. Whatever route you choose, getting to know the soil that’s feeding you is essential to a thriving garden.
Sources
Highland, Mark: Practical Organic Gardening – The No-Nonsense Guide to Growing Naturally (Cool Springs Press, 2017).
Nardozzi, Charlie: No-Dig Gardening – Grow Beautiful Vegetables, Herbs, and Fowers – The Easy Way! (Cool Springs Press, 2021).
Pilarchik, Gary: The Modern Homestead Garden – Growing Self-Sufficiency in Any Size Backyard (Cool Springs Press, 2021).


