Garden Gadgets Perfect For Growing
The world of urban gardening is packed with the most innovative and technologically advanced equipment. A day spent strolling through any industry trade shows like Feed Yourself or Spannabis is guaranteed to fill your head with information that would take months to research if you decided to start from scratch. Specialists from all fields, from ventilation and nutrients to growing systems and pest control, are an invaluable resource available to anyone keen to stop by for a chat. But if you’re not quite ready for setting up a tent in your house, and you only want to be ‘au naturel’ with your plot, you may wonder if any of these fancy toys could be helpful to you at all? Here are the tools which helped me both in a controlled growing environment and on my outdoor plot.
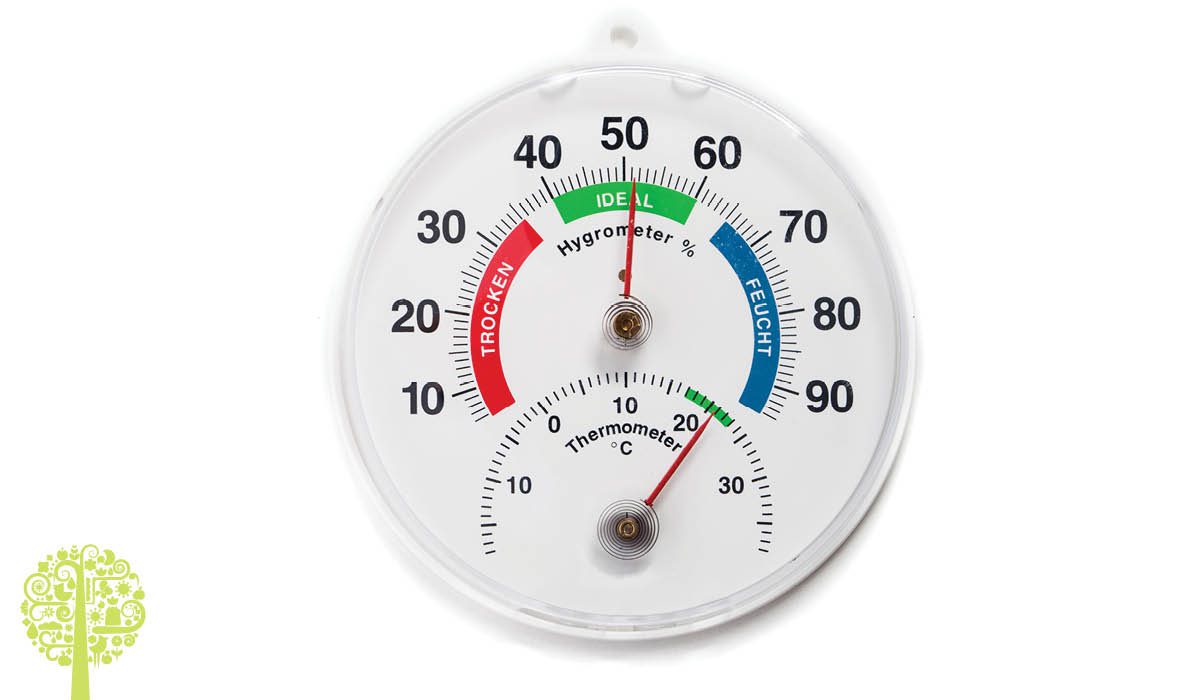
Hygrometer and Thermometer in One

It is a handy device for all indoor growers. Hence, it’s widely sold in hydroponic outlets yet hardly seen in your local garden center. The hygrometer/thermometer is singularly the best little tool anyone with a greenhouse could have. There are many garden thermometers; however, a thermometer and a hygrometer in one has an advantage over the others. It will display the current temperature and humidity, as well as storing the minimum and the maximum values. You can monitor your space in early spring or late summer, the most crucial time when the risk of frost can mess with your growing plans. Monitoring humidity isn’t on many plot holders’ minds. When we tend our plots, it’s usually sunny and dry, but knowing what happens at night can give you an idea about the airflow between your plants and avoid the dreaded late-summer mildew problems. Another advantage of a hygrometer is a long probe which tells us the outside parameters too. I found this very useful in early spring as I was leaving lit candles in the polytunnel at night to keep the frost away from my seedlings. I knew what to expect through trial, error, and data collected from the hygrometer, especially considering the forecasted temperatures were a lot lower than the actual readings. It may not be rocket science, but it’s useful science.
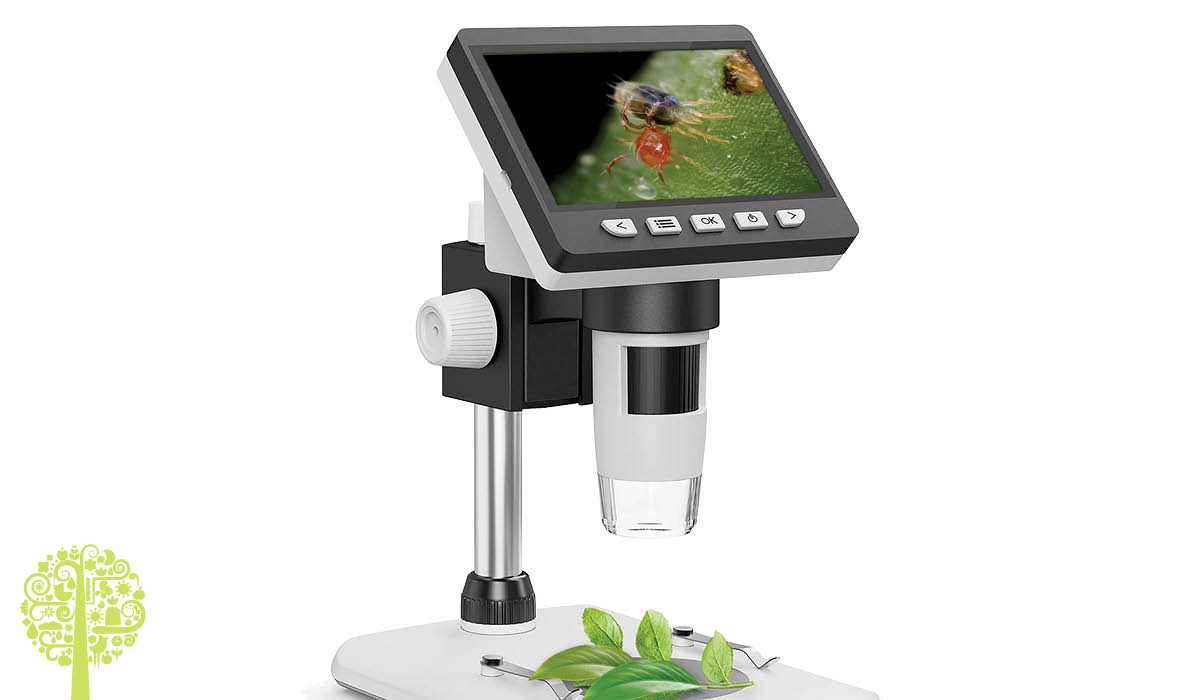
An Endoscope or a Microscope
This one, you might think, is a little too much if you only garden as a hobby, but it can be beneficial, particularly if you have a greenhouse and may have to deal with tiny pests. It came in really handy for me when I had to identify a mite and decide if it’s the dreaded two-spotted ‘spider’ mite or its predator Phytoseiulus persimilis. A quick look calmed my nerves at that moment, but if it hadn’t been the predator instead of a pest I had ignored, then it could have been game-over for my cucumbers pretty soon. Endoscopes now come with a USB attachment, so you could connect it to your phone when you’re in the garden or bring specimens home. It’s also a fun exercise to do with kids, looking at bee’s fur or spider’s eyes (eek!).

For those of you who like to get a little curious about what’s in the soil, who eats whom or how their mouthparts work, I highly recommend extracting some soil animals and checking them out under a microscope. Watching the worm’s gut processing the food or a Mesostigmatid mite eating an aphid is like watching something straight out of a low-budget ’80s horror film.
EC Meter
As this article refers mainly to soil growers, I will assume that many of you follow organic practices and aren’t using mineral nutrients or additives. You may be making some anaerobic teas like the one I make from nettle and comfrey, using liquid seaweed or experimenting with other plants and extracts like willow bark. The rule of thumb with the application of such potions is that you dilute your extracts ‘to the color of a weak tea’, a very English way of thinking. But why is the ‘weak tea’ color advised? Some old boys will tell you that if you make it stronger, “it will burn your plants”, creating crispy tips of leaves, discoloration and ultimately the opposite effect to what you wanted. The roots absorb nutrients in the form of soluble mineral salt ions, and the high concentration will cause a shortage of water uptake – the plant will take the water from itself, starting with the tips of the leaves. In short, the color of your liquid indicates how rich the solution is, and there’s no way of measuring it precisely unless you own an EC pen. I didn’t have one when I was brewing a rooting tea with willow, and guess what happened? I thought, “a bit dark that, but should be ok” – nope, I should have diluted my tea more. Oh, the joy of homemade experiments!
Air Pump
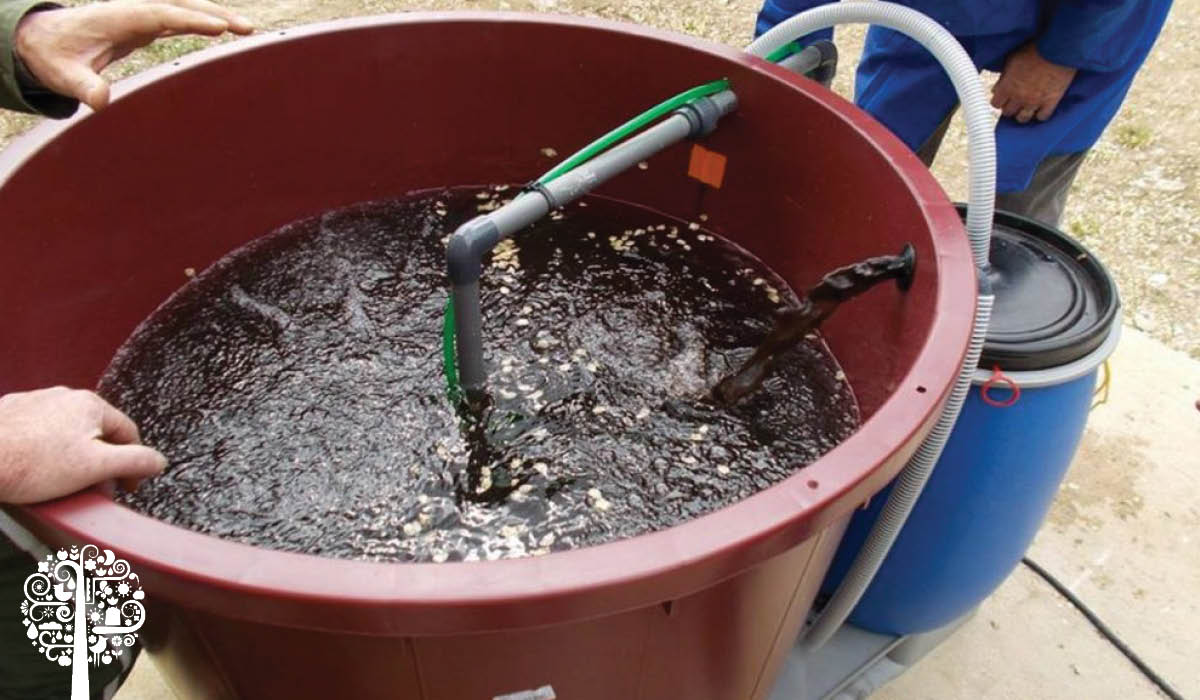
The real game with boosting your plant’s health starts with the knowledge of AACT – Actively Aerated Compost Tea. Instead of letting the anaerobic bacteria breed in an oxygen-poor environment, you can cultivate the ‘good’ bacteria which thrive in oxygen and bring extraordinary results when applied to plants’ roots. The most fun part is that you can play with the ingredients like you’re cooking a meal.

The base for your oxygen-rich tea will always be the same – some foliage, molasses and compost. Your base plant matter could be any plant, but it’s worth doing some research if you want a specific result – you choose which chemical compound you want to be present in your mixture. For nitrogen-rich tea, pick freshly cut grass or nettles. For phosphorus, you can throw sprouted and blended soybeans or shredded root vegetables like carrots. For a potassium-rich flowering mixture, use flowerheads or banana skins. Add molasses for a good source of sugars which the bacteria use for energy. Ensure the compost (we’re talking nice-smelling, earthy and fresh compost) is a massive collection of soil animals, bacteria and fungi, which you want present in the tea.

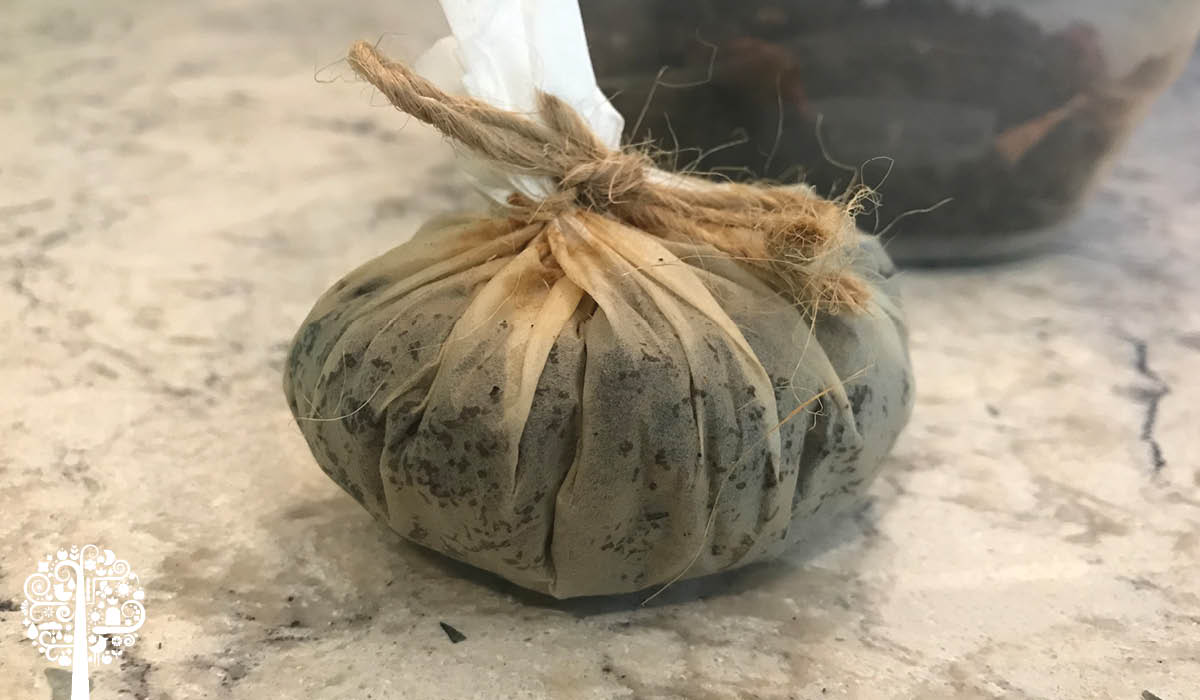
One simple method is to cut a leg off a pair of old tights. Stuff it with your greens, compost, and molasses. Add any other ingredients you may want, for instance, bone meal, fish fertilizer, bat guano, worm castings – they all bring something valuable to the brew. Suspend the parcel on a stick and place it in a bucket of non-chlorinated water. Turn the air pump on. It is important to note that AACT can only brew for a limited time; usually, 12-24 hours is enough. The organisms present in the compost, plants, and additives will multiply, using up the molasses’ carbohydrates. If the brew is left too long, the source of sugars disappears and the live organisms will start dying.
Once your elixir is ready, use it up straight away without turning the air pump off, it only takes a couple of hours for the environment to change from aerobic to anaerobic, you don’t want all your hard work to go to waste (and even damage your plants!). The results of applying AACT are superior compared to the standard ‘compost teas’. With a small solar battery, you can do it right at the allotment.
Admittedly, some of these tools can be fairly expensive, but in my experience, they soon pay for themselves in the improvements you’ll see in your plants.


