How to Build a Successful Cannabis Growroom
Molds, pests, below-par product, and crop failure are just a few of the implications caused by a poorly designed growroom. To properly set up a professional grow space you need to first take it to the drawing board and ensure that these crucial steps are taken care of.
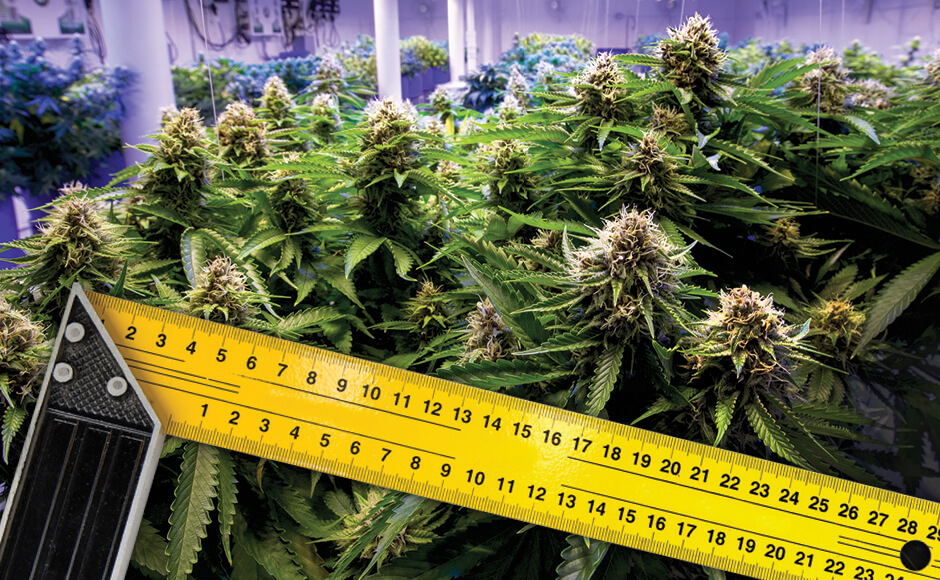
Step One: Assess Your Growing Space

The first step is to assess your growing space or facility by measuring everything and creating a floorplan of the area. It is important at this point to mark down everything about the area that you will be growing in such as water hookups, power supply, ventilation, and drainage if you have that already situated. If your room or facility requires these services still that’s fine; in this case its best to re-visit this once we have a plan in place so the services installed exactly where needed. If you are starting from the ground up just skip this step and move on.
Of course, you want to set up a successful grow space, but what is your end goal? If it is to grow your legal amount for personal consumption, medical reasons, or you are starting a commercial recreational facility for profit, this needs to be incorporated into the planning at this point. We also want to make sure the grow area is purpose-built, meaning if you are growing for extractions, or setting up a vertical farm that we incorporate the right grow systems, lighting, and floorplan.
If growing for extraction, then a smaller plant count with large plants is ideal to create lots of sugar leaf. If you are focusing on high-quality flower production, then a high plant count with smaller plants is ideal to create lots of top-focused flowers. A vertical grow space will of course require high ceilings and it will be subjected to a certain group of hydroponics or soil grow systems that would be ideal for that type of growth and maintenance. If growing on a larger scale indoors then it is recommended to stay away from soils as they can be very labor intensive, messy, and harbor bugs or molds.
Step Two: Planning The Grow Space

Now that you have the preliminary planning and end goals completed its time to plan the grow area. If you are starting a build from the ground up, that’s great too—a blank canvas is always nice. Be sure to contact a professional for the setup of your floorplan if growing recreationally as there are more strict guidelines for rooms incorporated and general floor planning. Start by incorporating your grow systems, then lay out the lighting to be able to cover all the grow systems adequately. After your grow systems and lighting are planned then you can plan out the right amount of dehumidification, CO2, and fertigation.
Step Three: Dial In Your Growroom Equipment

Before we dial in the best grow systems and equipment to install into your new growroom, it’s important to go over your budget for this project as this will greatly determine the equipment and amount used. Make sure to think ahead when you consider your budget and equipment as it may seem cheaper to get into this by just outfitting as much cheap stuff as possible, when in fact that can cause a lot of problems down the road. It’s often better to start smaller with good equipment and a proper functioning room and then work your way into a larger space if that works better for your budget.
Lighting
While good LED grow lights are ideal due to their high PAR values being closer to the plants, cool operating temperature, and reduced electricity consumption, they do cost roughly twice what a 1,000W HPS light and ballast costs. This comes with immediate savings in HVAC needs and energy consumption though so consider everything and try to think about costs down the road.
CMH or HPS lighting requires the bulbs to be changed often, so keep this cost in mind with them. The bulbs will look okay at a glance, but when looking through a PAR meter they often tell a different story.
LED lights generally last for 50,000 hours or more, while HID/HPS lighting typically lasts for 10,000–18,000 hours. LED lights can come with a plethora of spectrum options that are near impossible for other grow lighting options to mimic such as far red and UV that can be easily turned on or off. LED lights will also reduce your HVAC and energy requirements by roughly half compared to its 1,000W HID/HPS lighting counterparts, making LED our first choice if your budget complies.
Grow Systems
Choosing the right grow system is crucial to the quality of product, speed of growth, and on-going maintenance of your grow. Just like with LED lighting if you spend a bit more on an automated hydroponics system you will be rewarded with much less ongoing maintenance opposed to soil, faster growth, and larger more potent flowers. Depending on the type of hydroponic system chosen you can also save up to 93 percent of the water or nutrients being used in the grow as well.
Your end goals will also help you determine the best type of grow system to go with: if growing for extracts then large soil plants or deep water culture hydroponic buckets would be great. Meanwhile, if you are growing for flower production or in a vertical farm then stonewool drain-to-waste style grow tables are ideal.
There are many types of hydroponic methods and soil mixes, all of which are adding oxygen and nutrients to the root-zone. With soils or hydroponics we are always trying to add aeration and nutrients to help the roots thrive and have an easier time traveling through it. The biggest difference with hydroponics is the lack of resistance on the roots vs soil depending on the system of course. Coconut husk, although considered hydroponics, will offer a similar growth speed as soil due to its dense nature. In general, hydroponic methods such as drain-to-waste, deep water culture, or aeroponics have a 3-4x speed and yield over soil-grown plants due to the lack of root resistance as well as the ability to dial in exact nutrient and temperature levels.
HVAC
Heating, ventilation, and air conditioning are all required for your grow space to operate properly. While your growroom will be heating up from the dehumidifiers and lights during its day cycle, you still need heaters to regulate nighttime temperatures.
Sealed growrooms with no outside air exchange are ideal to not rob your room of CO2, introduce bugs or molds from outside, or change your desired environment. We still require some ventilation to be able to vent the room during cleaning or emergencies. Because of this, ductless wall units are one of the best choices for indoor growrooms. Additionally, it is much cheaper to have ductless wall units installed due to their efficiency over time, initial cost, and lack of trunk lines.
Incorporate your HVAC last so you can include all the heat from the dehumidifiers, lighting, and other heat-generating equipment and size the equipment properly.
Environment
Aside from HVAC, we still need to keep the air moving in the room, add CO2, and keep the proper humidity levels depending on the plants’ stage.
Hang lots of wall and floor fans to keep the canopy and under-canopy air circulated. You may only need a few fans in the room when the plants are young but as they mature, and the canopy gets thick, you need much more wind power to move through them.
Ensure that you not only outfit your flower rooms with dehumidifiers but also humidifiers so you can adjust the environment both ways as required depending on stages of growth (although your nursery should only require a humidifier). Ensure you have proper dehumidification according to the size and number of plants in the room (not room size) and do not forget humidifiers.
Add cold CO2 or mushroom bags depending on the size of the room (propane CO2 burners are not ideal but do work as well).
Nursery
Every good functioning grow space has a nursery as well. In this nursery you should have your mother plants that you can clone from (so you don’t need to take clones from an outside source), and a cloning station where you can clone or spout seeds to start in your new grow. Seeds are the preferred way to start in any clean new grow space so you can pheno hunt the best strain and keep it for mother(s).
If you have the space, it is ideal to have a small vegging area in your nursery as well so that you can pre-veg them prior to putting them in the flower rooms. The veg area can be joined with the nursery as it will be on a veg cycle as well (18 hours daylight, six hours nighttime) and will require the same humidity and temperature levels.
Depending on the size of your grow or facility your nursery may not need to be very large.
Recommended:
Basic Gear Needed for Indoor Cannabis Growing
Choosing LED or HPS Lights for Commercial Growers
5 Ways to Control Odors in a Growroom
Step Four: Construct Your Growroom

When building your growroom(s) you do not want any wood or cloth in the room that can absorb bacteria. Walls and ceilings should be covered in either PVC wall panels or liners to keep a sterile environment that is easy to clean. Your sprays or humidity will not affect these walls or ceilings by allowing moisture to be absorbed or bacteria to hide. If you must have exposed wood in your growroom its recommended to paint with an anti-mold paint.
When constructing the growing area, it’s best to start from the top and work your way down, taking care of the poly or PVC wall panel installation, then lighting and anything hanging from the ceiling, followed by the walls, wall fans, and then finally the grow systems and irrigation.
The proper setup of a grow space is essential to your success. This is not only due to the quality of your product but also the performance of your grow facility. Its important to look down the road at your ongoing expenses like hydro, equipment costs, or fertilizers used. Setting your grow space up with sustainable practices such as solar, hydroponics, or recapturing water expelled from your plants can save the planet and your wallet so be sure to think hard about how you build your next grow.


