How To Propagate Spider Plants
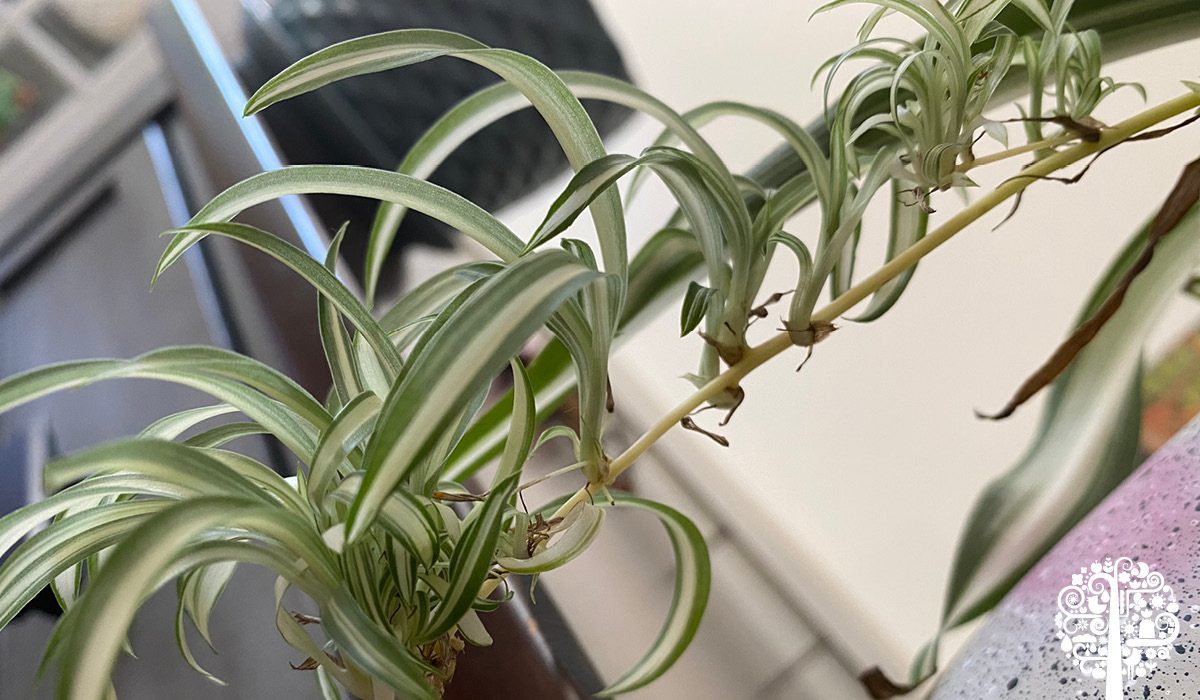
While many people have arachnophobia, houseplant enthusiasts can’t help but love the spider plant! This solid green or variegated beauty features adorable little spider babies that dangle from long stems. Either leave the plantlets or propagate them to make new spider plants!
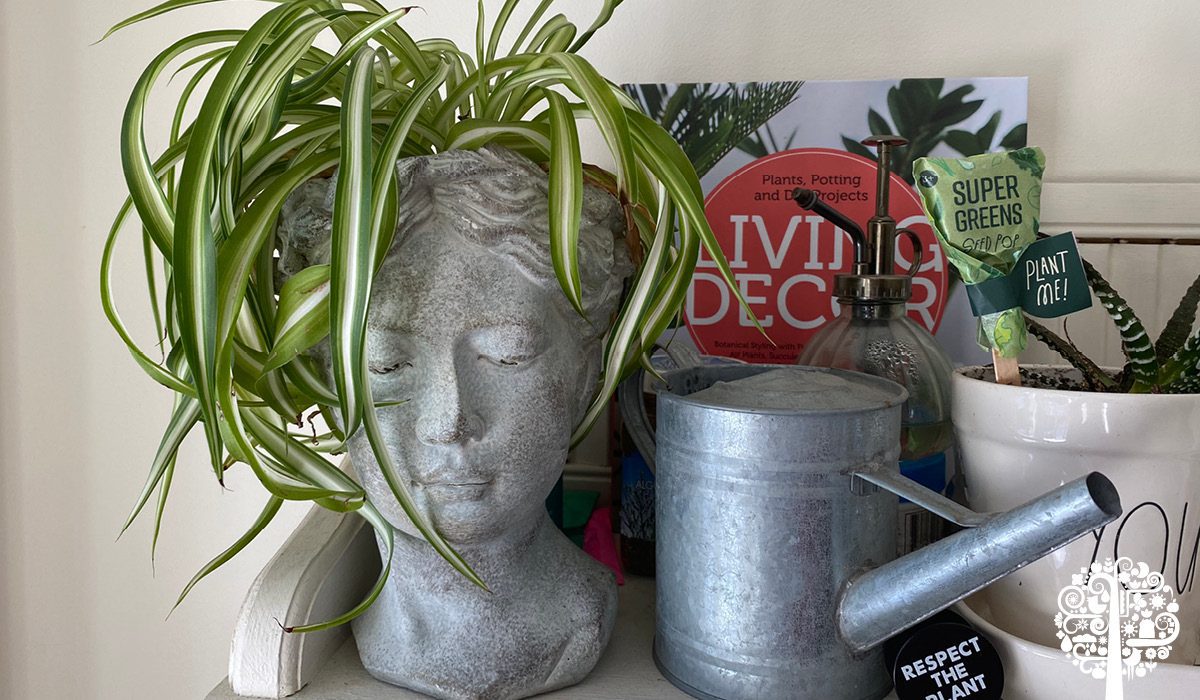
Spider Plant Propagation
Once your mother spider plant produces her babies, take a close look. You’ll notice small roots and knobs along the bottom of each spiderette. Making new spider plants involves planting the baby roots in a light, rich, and moist potting mix.
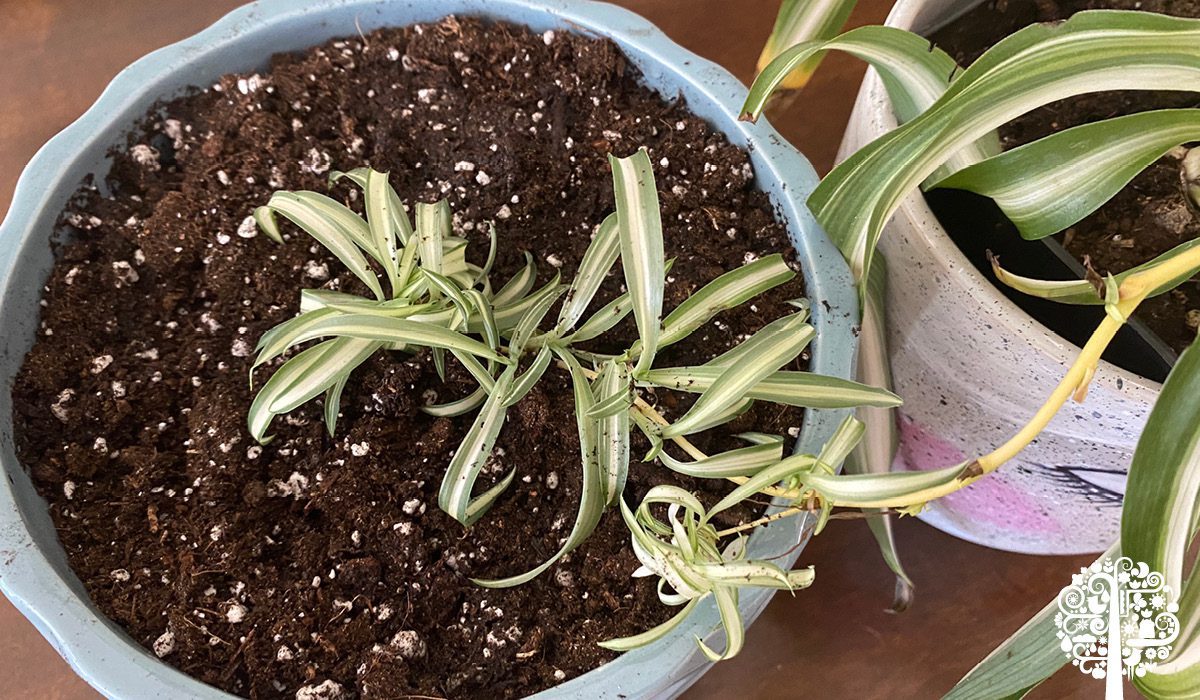
For faster rooting, it’s best to leave the spider babies attached to the mother plant! Gently bury the tiny roots and knobs into the potting mix, and only remove the baby once it is well-rooted in the soil.
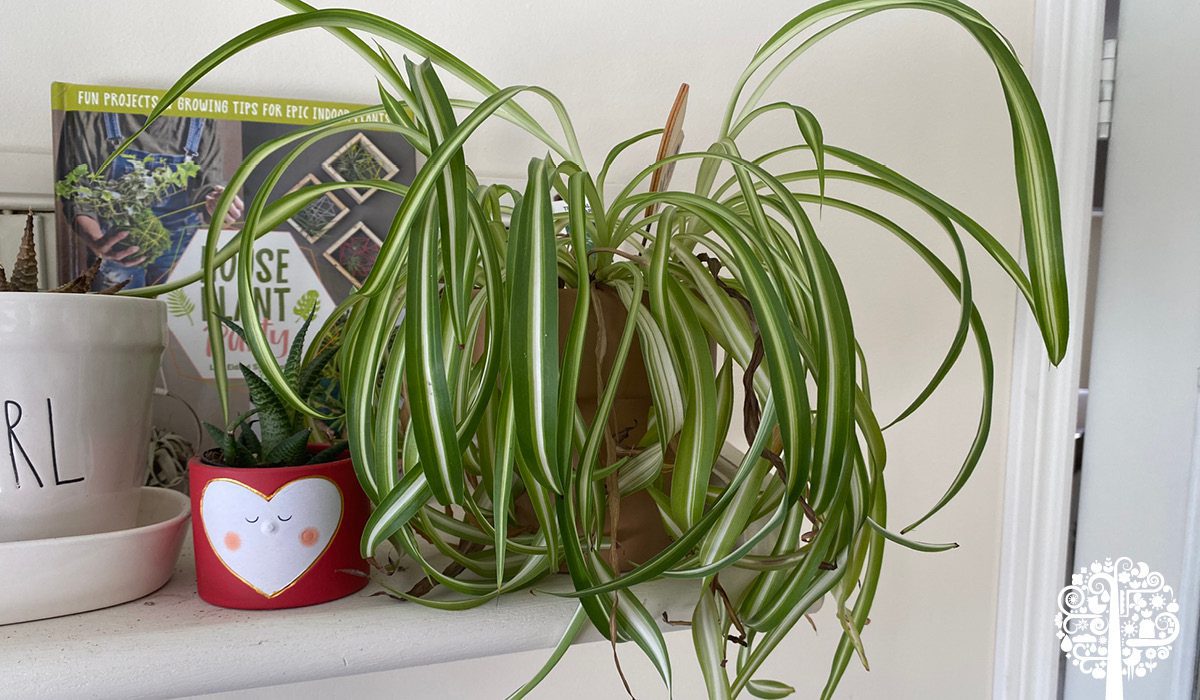
Have you already snipped the baby from the parent plant? No problem! Spider plants are no-fuss, and a separated baby will still root well, just maybe not as fast as it would while still “nursing” from its mama.
You can also cut the spider babies and place them in a glass of water for a couple of weeks before planting them in some soil.
Spider Plant Care
If your spider plant is solid green, it’ll do well in low light conditions. If the foliage is green and white, stick the plant in a part of the house that gets medium to bright light. All spider plants prefer moist conditions.
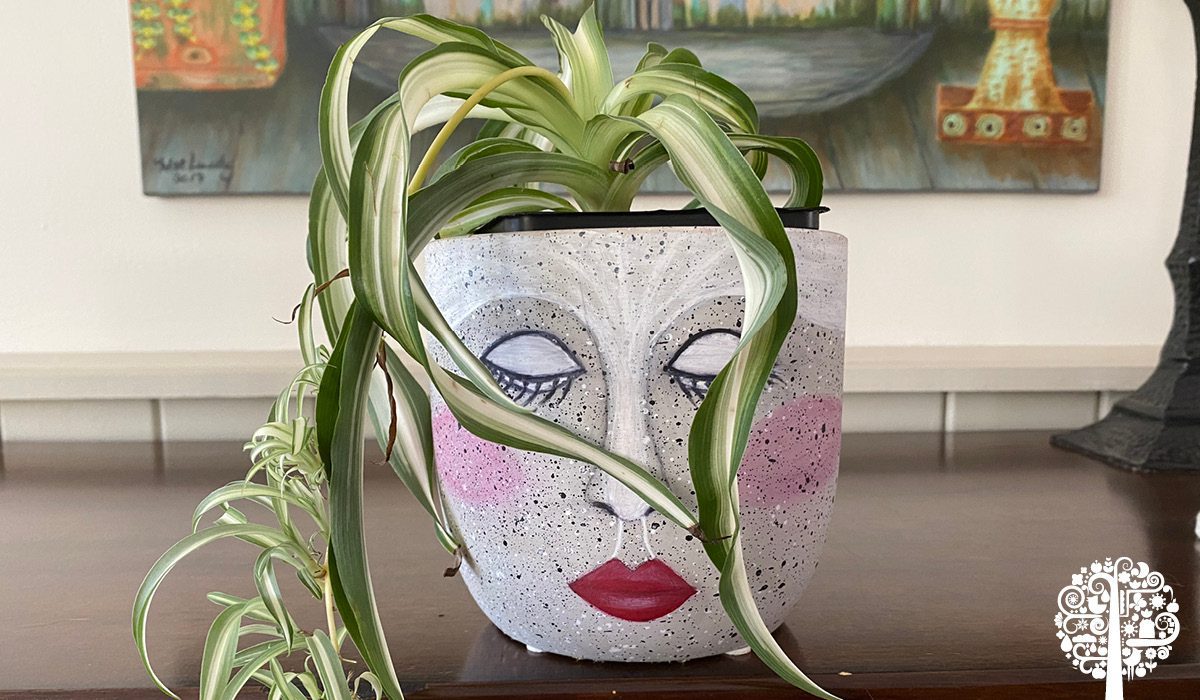
This beautiful houseplant grows to about one or two feet tall, and the stems cascade up to three feet over the side of containers. You don’t have to worry about your pets getting to them either because they’re non-toxic!
While you may not like spiders, this is the kind you’ll love having in abundance in the house! Follow the above propagation tips, and you’ll have a well-stocked spider nest in no time at all.
For more low-fuss houseplants, be sure to check out Grow In The Dark: How To Choose and Care for Low-Light Houseplants by Lisa Eldred Steinkopf.


