Two Methods to a Great Clean
In order to maintain an optimal growing environment, the horticulturist must maintain cleanliness. This may entail something as simple as a quick vacuuming or as complicated as the complete removal of all microbial life from a hydroponic system.
In regard to growroom cleanliness, two methods should be used: sanitization and sterilization. To implement sanitization and sterilization in an indoor garden, a grower must understand the difference between the two.
Although they are very different, sanitization and sterilization are commonly confused for the same thing. Equally important to the indoor horticulturist, sanitization and sterilization serve different purposes and should be used in conjunction to best employ their functions.
Sanitization of Indoor Growrooms
 Cleaning up dead plant matter eliminates a breeding ground for pests and diseases. [Source: Tequiero/Shutterstock]
In reference to indoor horticulture, sanitization is essentially a good, deep cleaning. It is as much a part of an indoor garden’s ongoing maintenance as changing light bulbs or refilling nutrient reservoirs. Sanitization practices will usually eliminate some of the most unwanted microorganisms.
However, sanitization does not necessarily mean the use of a cleaning product or antimicrobial product. A simple wipe down to remove the “filth” could be considered sanitizing. Think of sanitization as keeping a consistently tidy growroom. By doing this, growers can remove most pathogens and prevent a slew of problems.
There are many practices of sanitization a grower should apply within an indoor growroom. Creating a checklist to keep track of what was done, and when, can be an invaluable tool in maintaining the sanitization of an indoor garden.
The immediate cleanup of spills, excess water or plant runoff is imperative in maintaining sanitization in an indoor garden. People who take on the hobby of indoor horticulture run the risk of having to deal with a wet floor.
A wet/dry vacuum used to suck up any spillage or runoff is one of the best investments an indoor horticulturist can make. Excess moisture on the floor will raise the room’s humidity level and increase the risk of mold or rot, especially if it is occurring regularly.
Read also:
 Routine cleaning of ventilation systems maintains maximum air flow. Source: Paul_Biryukov/Shutterstock
Upon entering the indoor garden, a grower should look for and cleanup dead plant matter. While working with your plants, take the time to look for fallen leaves on the ground or in plant containers. Removing the fallen leaves immediately eliminates a breeding ground for pests and diseases.
After harvesting crops, make sure to always dispose of old soil or root matter a good distance from your indoor garden. Dead plant matter is extremely attractive to a variety of pests, but it is especially appealing to molds and fungi.
Many gardeners with ongoing root rot never associate the problem with an unkempt growroom. It is always best to remove any dead plant matter or old soil completely from the indoor garden. This eliminates an array of potentially devastating problems.
Inspect and sanitize your intake filter about once a week. This piece of equipment is an absolutely invaluable tool to the indoor horticulturist. If a grower doesn’t wish to purchase an intake filter, one can be made.
An old carbon filter or nylons attached with zip-ties over an intake port will serve as an adequate filter. Intake filters keep unwanted dirt, dust, bugs and, in some cases, spores, molds and bacteria from ever entering the growing environment.
A routine cleaning of the intake filter will help maintain a ventilation system’s maximum air flow. Besides cleaning the intake filter, it is equally important to closely examine the filter. Close inspection of an intake filter can give a grower early warning signs of pest insects. A pest insect found on an intake filter can give the horticulturist a jump-start on implementing further preventative measures, or a treatment program.
It is a good idea for indoor horticulturists to get into a routine of removing bulbs and glass from the reflectors for a good wipe down. A good time to do this bit of sanitization is after every harvest. This will not only keep a regular schedule going but also be a good time for maneuvering in the growroom.
With the garden harvested and removed from the area, it opens up a bunch of space in the room. This makes it much easier for the grower to get to the reflectors and other equipment. When sanitizing the bulbs, a damp cloth will do, but the use of isopropyl alcohol is more effective.
Glass cleaners can be used on the reflector’s glass, but I still prefer isopropyl alcohol because when it evaporates I know there will be little or no residue. Even when using an intake filter, bulbs, and glass develop a thin layer of grime capable of compromising their performance.
This grime can block valuable light from reaching the plants. In some cases this may reduce light output by 10% or more. Consistently sanitizing the bulbs and glass will help maintain the fixture’s maximum light output. It is a good rule of thumb to also periodically sanitize any reflective material in your growroom to remove light inhibiting grime.
Along the same timeline as reflector glass and bulb maintenance (about every other month), it is a good idea to inspect and sanitize all the hardware in your growroom. For hardware with exposed circuitry, such as ballasts and controllers with ventilation ports for heat dissipation, compressed air is a great way to remove debris and maintain the hardware’s efficiency while extending its life.
The compressed air cans used to clean computers work great for growers who don’t have access to large air compressor units. Air conditioners, dehumidifiers, heaters, carbon dioxide emitters, atmospheric controllers, light timers, and fans should all be inspected and sanitized on a regular basis. For much of this hardware, which is designed and built to withstand abuse, a simple wipe down may be all that is needed.
Sterilization of Indoor Growrooms
 Hydrogen peroxide is used as a bleaching agent or a disinfectant. Source: Danijela_Maksimovic/Shutterstock
Sterilization is a more involved cleaning process and refers to the elimination of microorganisms including fungi, bacteria, spores and viruses. Sterilization can be achieved by using heat, filtration, or chemical cleaners—the most common method for the indoor gardener being the chemical cleaners.
Sterilization is generally used more selectively within an indoor growroom. In other words, it is unnecessary, and probably counterproductive, to try and sterilize everything within an indoor garden. The items normally sterilized by horticulturists are hydroponic systems, planting containers, cloning chambers or other places where plants are most sensitive to pathogens.
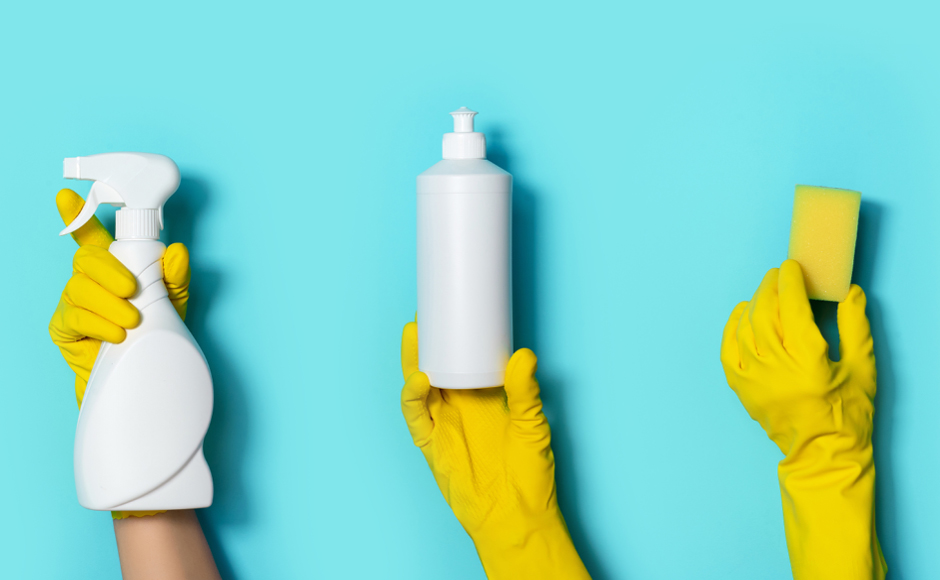
The most common chemical cleaners used as sterilizing agents in horticulture are bleach and hydrogen peroxide. When you are sterilizing with a chemical cleaner it is always a good idea to wear gloves and goggles to protect yourself from potentially abrasive chemicals.
Common household bleach usually contains the active ingredient sodium hypochlorite, which is the same chemical compound commonly used in disinfecting waste water at treatment plants. Bleach is a great sterilizer but can leave a residual so equipment needs to be double or triple rinsed.
After every harvest, a hydroponic crop grower can create a bleach bath (1:1 water to bleach) to soak the hydroton, air stones, submersible pumps and net pots to ensure they are all sterilized before starting the next crop. After soaking in bleach solution, growers should triple rinse all equipment before using it again to ensure all potentially harmful residues have been removed.
Hydrogen peroxide (H2O2) is water with an additional unstable oxygen molecule or an oxidizer. Its composition is truly valuable to the horticulturist because as hydrogen peroxide breaks down and loses its unstable oxygen molecule, it turns into water: H2O. Water is obviously non-toxic to plants and beneficial microorganisms so it is an ideal byproduct of sterilization.
I prefer hydrogen peroxide to bleach for the sterilization of nutrient reservoirs, hydroponic systems and all propagation equipment including clone machines. Reservoirs, cloning equipment, and hydroponic systems can be wiped down with a clean rag saturated in 3 percent hydrogen peroxide.
For larger hydroponic systems or systems that are too difficult to wipe down, a diluted 35 per cent hydrogen peroxide (2:1 water to 35 percent hydrogen peroxide) solution can be run through the system for one hour. Rinse the system with clean water to rinse out any remaining hydrogen peroxide before returning the plants.
For sterilizing clone machines, run a 4:1 water to 35 percent hydrogen peroxide solution for about an hour. As with the hydroponic system, rinse with clean water before returning clones to the machine. Extreme caution must be used with hydrogen peroxide especially when it is in higher concentrations. Growers should always protect skin and eyes from contact with concentrated peroxide.
Conclusion
Sanitization and sterilization are the most effective preventive measures against insects, molds, pathogenic fungi, and plant viruses. Just like automotive maintenance is imperative to keeping a vehicle working efficiently, sanitization and sterilization techniques are imperative to keeping the garden and its hardware operating at an optimal performance level.
Very few things in the realm of indoor gardening are low cost and high return. Where these rare opportunities exist, an indoor horticulturist must capitalize.
Indoor horticulturists spend vast sums of money on lighting, ventilation and nutrient regimens to help boost production. These things are all important and absolutely contribute to high yielding gardens.
By integrating sanitization and sterilization practices, gardeners can protect their investments and dramatically change the outcome of their garden’s performance at a minimal cost.