Phalaenopsis Orchid Care Tips
Botanical Name: Phalaenopsis species and hybrids
Worried about phalaenopsis orchid care? Don’t be. The popular Phalaenopsis (aka Moth Orchid), is often called the “beginner’s orchid” because of its tolerance to average room conditions. Phalaenopsis orchid care is just as easy as any other flowering house plant.
With a few simple tips for growing orchids indoors, you’ll have a gorgeous flowering plant that’s in bloom for months in late winter and spring.
Beautiful and exotic orchids were once considered to be only for the expert greenhouse gardener. More widely available varieties and new hybrids have changed all that.
There are tens of thousands of varieties available…and their sizes, shapes, and colors vary greatly. Choose a plant with plenty of unopened flower buds. Each bloom lasts for weeks, and you’ll enjoy a succession of blooms that last for months.
 Phalaenopsis orchids grow as epiphytes in tropical rainforests, growing on tree branches where they anchor themselves with their thick roots.
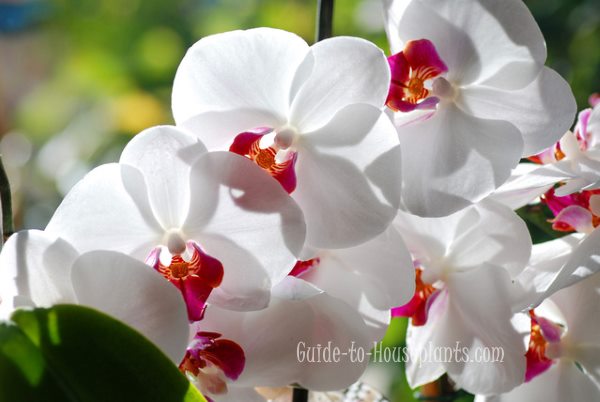
Each long, arching flower stem produces several flat-petaled blooms that open in succession from the bottom of the stem to the top.
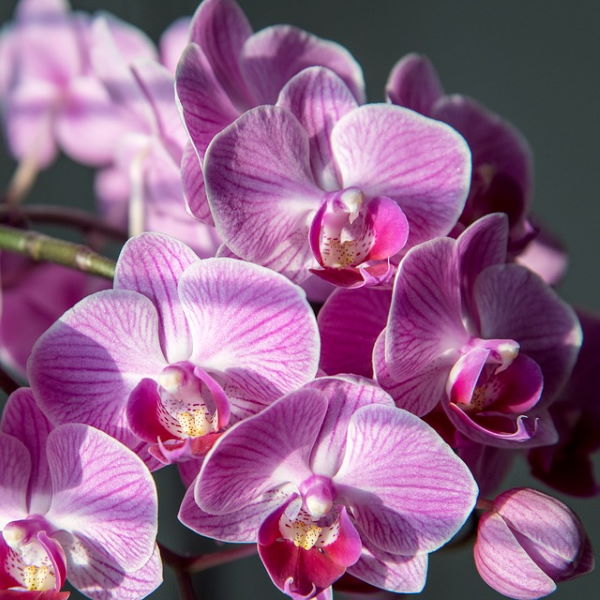
Blooms are available in pink, purple, white, red, or yellow, sometimes with spots, and often with contrasting lip and veins.
You can count on them to bloom year after year if you meet the needs for phalaenopsis orchid care: high humidity, bright light, moist-but-not-soggy soil, and fertilizing. It’s work, yes — but the results are oh-so worth it.

After-Flowering Phalaenopsis Orchid Care

To repot…or not. Repotting orchid is necessary every couple years because the fine-grade fir bark they grow in will decompose and become compact. An epiphyte in the wild, this orchid likes some air around its roots. The best time to repot is in the spring, immediately after flowering is over. Keep it in a small pot, it grows best this way.
How to repot: Ease the plant out of its pot and shake off the old potting mix from the roots. Trim off any soft, rotted roots. Spread the remaining roots over fresh mix in the bottom of the new pot. Once positioned, fill the rest of the pot with mix to stabilize the phalaenopsis orchid, care taken so that the junction of the roots and stem are at the surface.
After the bloom. Once all the flowers have faded, find the second node (the place where the flower was attached to the stem) from the bottom of the flower stem and make a cut just above the second node. Use sharp pruners to avoid tearing the stem, and cut at an angle. Removing the stem will encourage your moth orchid to flower again the following season.
Phalaenopsis Orchid Care Tips

Origin: Tropical Asia
Height: 1-2 ft (30-60 cm). Tall flower stems need to be staked to support their flowerheads. You can use orchid clips or soft florist’s wire to hold stems to a stake.
Light: Bright light is needed for these beauties to bloom. If you don’t have enough light near a window, you can put Phalaenopsis under fluorescent lights. Place the plant 6-12 in (15-30 cm) beneath the light fixture for 12 to 16 hours a day. Shade from direct sun, which can scorch its leaves.
Water: Water the mix thoroughly, then allow the top half of the potting medium to dry out before watering. Do not let the potting medium get soggy because that may cause root rot.
Humidity: High humidity is a must — around 60% relative humidity is ideal. Set pot on a tray of wet pebbles or use a cool mist room humidifier.
Temperature: 60-65°F/16-18°C nights and 75-80°F/24-27°C days. To ensure blooming, give your orchid slightly cooler nighttime temperatures. A 15° difference will do.
Soil: Orchid potting mix works best because it retains some moisture, yet allows air around the orchid’s roots.
Fertilizer: Feed every 2 weeks spring through fall with a fertilizer specially made for orchids. Do not feed in winter.
Propagation: Divide the mature plant when it becomes crowded in its pot. It’s best to do this in the spring, immediately after blooming is over.


